Additonal electric heater
3 minute read
Intro
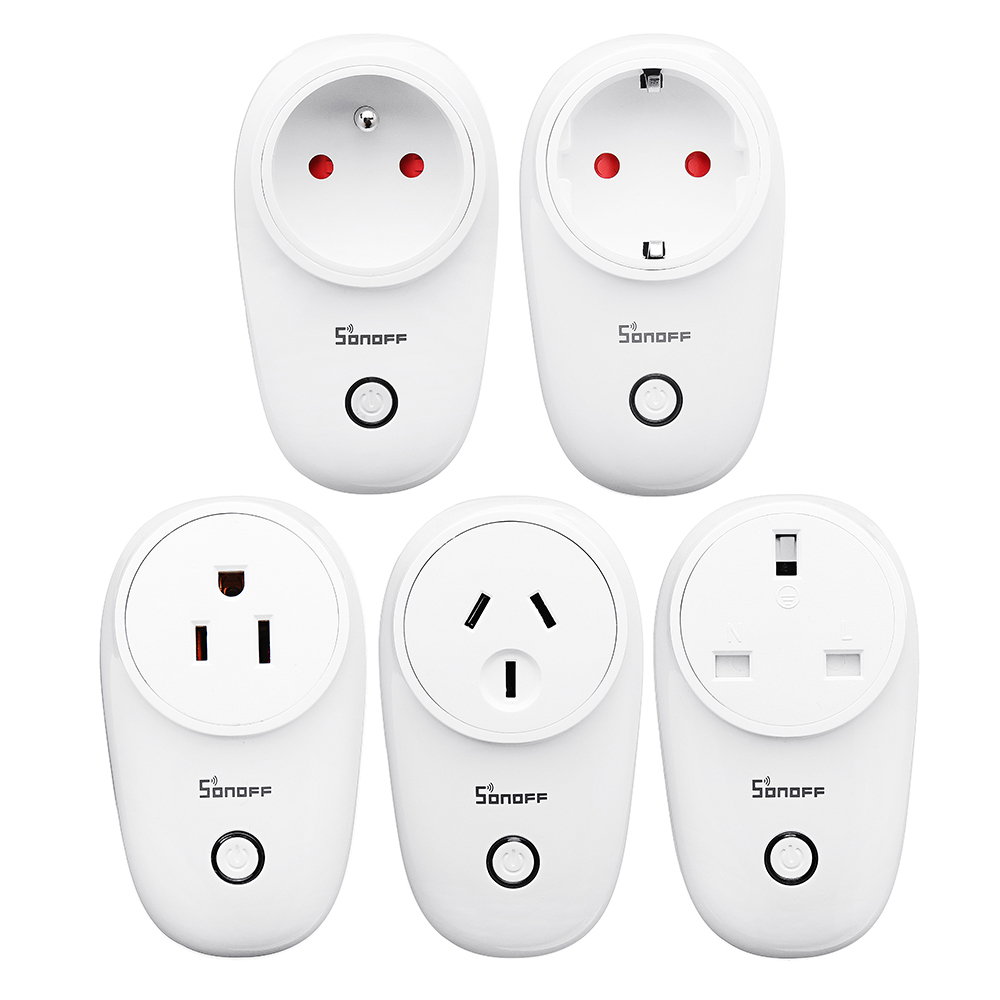
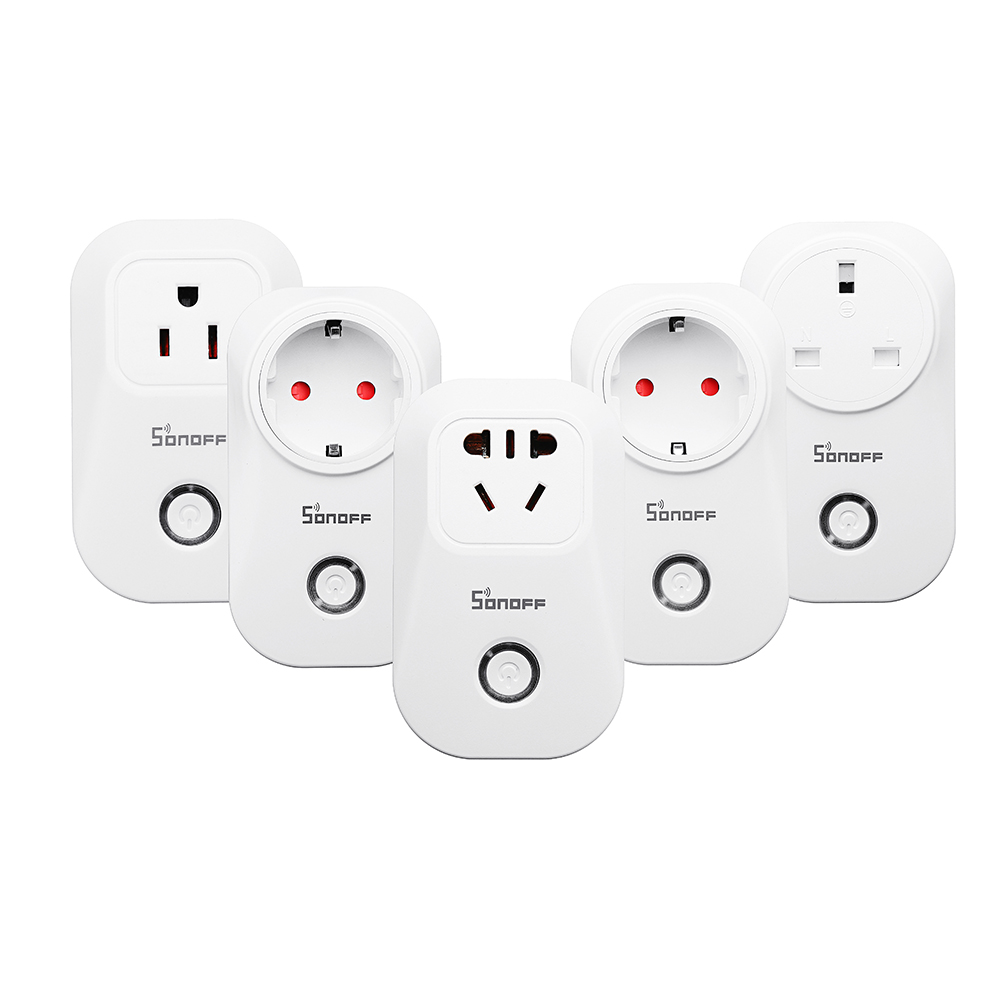
We’ll be using one of the sonoff devices to turn on/off a wall-plugged electric heater. These devices are pretty cheap but since we’ll be hacking into them, use at your own risk.
The sonoff S20 is more hackerfriendly compared to the S26 (from soldering standpoint). But once it’s done, the S26 is more compact and looks slick :). I’ve used both in the meantime (and I’m not a soldering guru by far).
Concept
- The sonoff devices will be flashed with the custom Tasmota firmware (cfr. the very complete documentation at https://github.com/arendst/Sonoff-Tasmota).
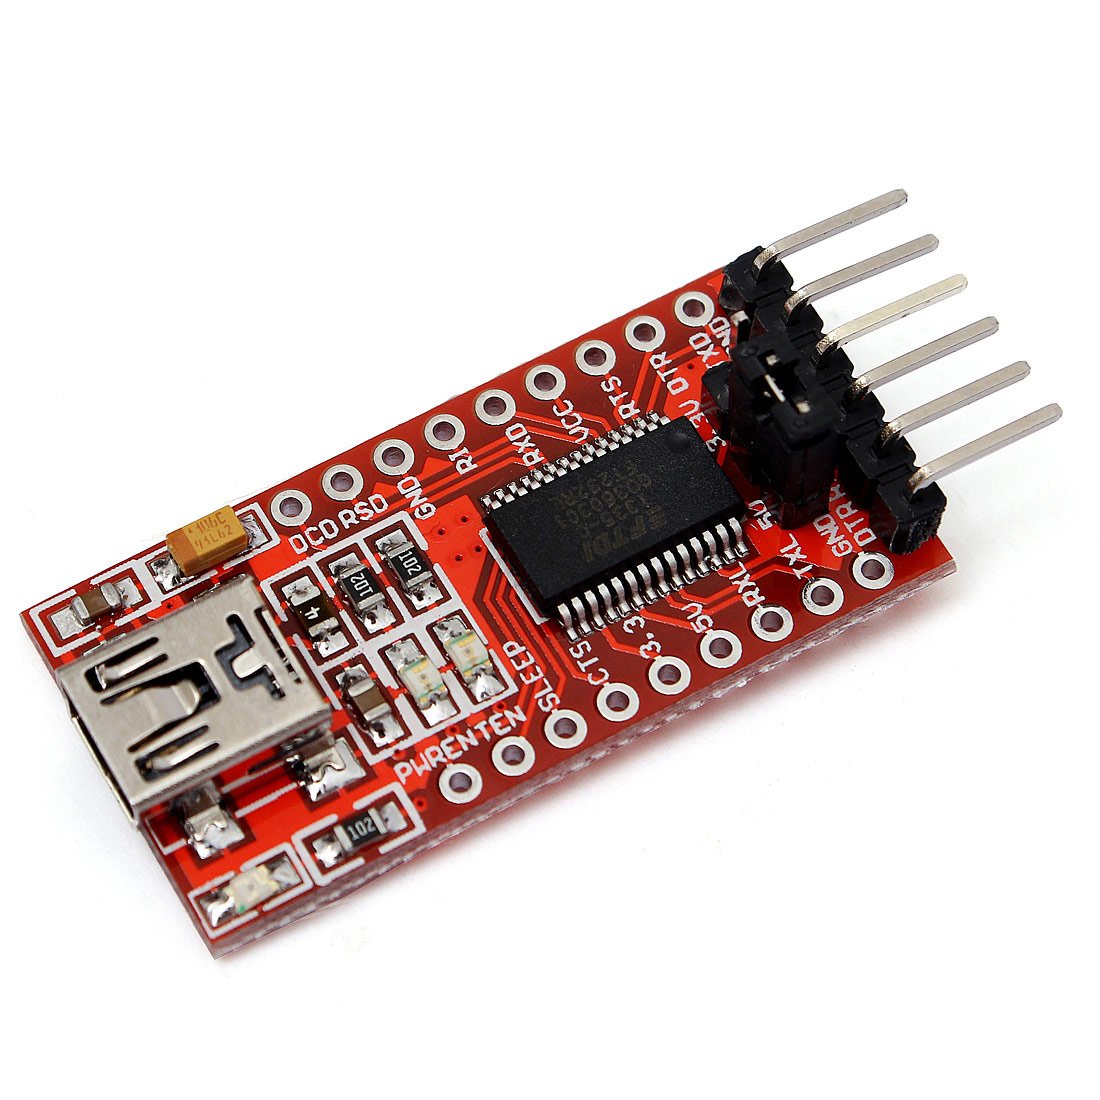
- There are enough sites out there explaining the flashing procedure (https://github.com/arendst/Tasmota/wiki/Sonoff-S26-Smart-Socket as starting point). I flash through the FTDI device below (can handle 3.3 and 5V based devices):
- Once this is done, MQTT messages will be used to control and report the status through the interface of Home Assistant
Configure MQTT Tasmota
First, flash the Tasmota software.
Then browse to the ip-address of your sonoff device and click further to do some limited MQTT configuration. Here you can define the names / passwords / username of your MQTT topics (see screenshot below). The full name of the MQTT can be double checked in http://IP_ADDRESS_OF_YOUR_SONOFF/in.
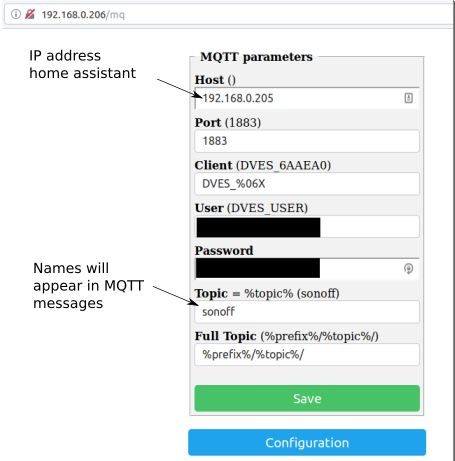
MQTT configuration in Tasmota
The MQTT methods in the Tasmota software are very well documented (a bit overwhelming at first):
- list of useful topics: https://github.com/arendst/Sonoff-Tasmota/wiki/Commands#mqtt
- general explanation: https://github.com/arendst/Sonoff-Tasmota/wiki/MQTT-Overview
Two MQTT topics will be used for this application:
- one to report the status
- one to send the commands (this one doesn’t need additional configuration)
To monitor the status of the device, the tele-messages - continuously broadcasted by Tasmota - will be used. The update rate of the tele-message can be set with the TelePeriod command (see screenshot below).
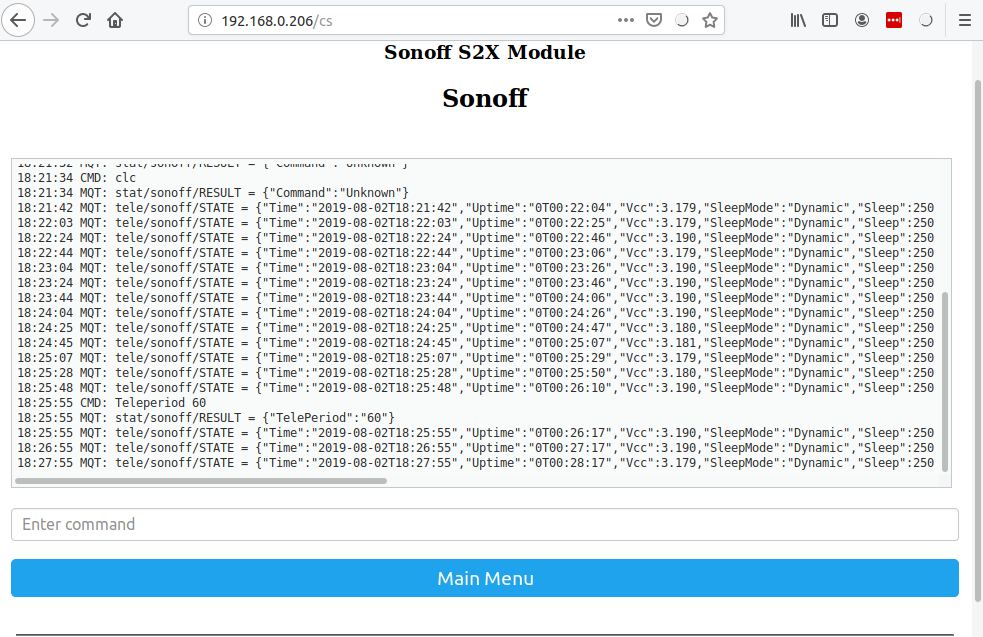
Configure update rate of the tele-message to 60 seconds
Home assistant
First check if the messages truly arrive on the host, by listening to them from the terminal on the host:
$ mosquitto_sub -v -h localhost -t tele/sonoff/#
tele/sonoff/LWT Online
tele/sonoff/STATE {"Time":"2019-08-02T18:32:57","Uptime":"0T00:33:19","Vcc":3.178,"SleepMode":"Dynamic","Sleep":250,"LoadAvg":24,"POWER":"OFF","Wifi":{"AP":1,"SSId":"*****","BSSId":"*****","Channel":6,"RSSI":44,"LinkCount":1,"Downtime":"0T00:00:06"}}
tele/sonoff/STATE {"Time":"2019-08-02T18:33:57","Uptime":"0T00:34:19","Vcc":3.178,"SleepMode":"Dynamic","Sleep":250,"LoadAvg":3,"POWER":"OFF","Wifi":{"AP":1,"SSId":"*****","BSSId":"*****","Channel":6,"RSSI":44,"LinkCount":1,"Downtime":"0T00:00:06"}}
tele/sonoff/STATE {"Time":"2019-08-02T18:34:57","Uptime":"0T00:35:19","Vcc":3.190,"SleepMode":"Dynamic","Sleep":250,"LoadAvg":9,"POWER":"OFF","Wifi":{"AP":1,"SSId":"*****","BSSId":"*****","Channel":6,"RSSI":42,"LinkCount":1,"Downtime":"0T00:00:06"}}
All arriving, all good :).
Now, define a binary sensor in configuration.yaml to monitor the on/off status of the device. Here the value_template needs to be used to filter the specific message we want (here on/off of the device).
binary_sensor:
  - platform: mqtt
    name: "heater status"
    state_topic: 'tele/sonoff/STATE'
    value_template: "{{value_json.POWER}}"
To command the sonoff to turn on and off we’ll define a switch. This one uses the cmnd features of Tasmota:
switch:
  - platform: mqtt
    name: "handdoekdroger control"
    command_topic: cmnd/sonoff/Power1
    payload_on: "ON"
    payload_off: "OFF"
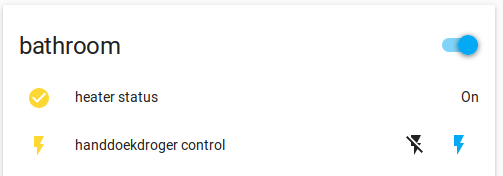
UI
In ui-lovelace.yaml, the following is defined:
      - type: entities
        title: bathroom
        entities:
          - binary_sensor.heater_status
          - switch.handdoekdroger_control
et voila, one can command and read the status of the sonoff device through Home Assitant: (of course there is a delay of maximum 60s in the status reporting due to the usage of the tele-message.)