Basic descriptions how to setup home assistant
This the multi-page printable view of this section. Click here to print.
Home Automation
Basic descriptions how to setup home assistant
1 - Remote access home assistant
Intro
Don’t we all want to monitor our home remotely (i.e. when not connected to our local network), turn on the heating on or off if we change our plans, check if everything is going well with our created home automation, etc. What we want:
- a secure method that has limited chance of being hacked
- no usage of a cloud service (it’s my data :), it should still work if the company stops existing or a server is down)
- preferably free
In this section we’ll use tor to access home assistant remotely and connect to it from our mobile phone (through mobile internet). Read more about Tor Hidden Services.
Installation
I’m using a debian based system with home assistant running in a virtual (python) environment, as described here.
The documentation to setup tor is here: homeassistant tor. However, for debian 10 (buster), this isn’t entirely correct anymore. The ‘HiddenServiceVersion 2’, needs to be added to the torrc configration. All the other steps are still relevant.
torrc:
HiddenServiceDir /var/lib/tor/homeassistant
HiddenServicePort 80 127.0.0.1:8123
HiddenServiceVersion 2
HiddenServiceAuthorizeClient stealth haremote1
Accessing from Android phone
As described in homeassistant tor, one need to install Orbot and Orfox (Tor browser).
Configuring Orbot
- Use the result obtained by executing
$ sudo more /var/lib/tor/homeassistant/hostname, you will obtain something likexxxxx.onion xx....xx. - Edit the torrc file in Orbot –> Settings –> Torrc Custom Config. Fill in:
HidServAuth xxxxx.onion xx....xx - One additional step I had to, is to go to Orbot –> Settings –> Tor SOCKS and add port 9150. This to avoid getting a refused connection because of proxy servers.
Home Assistant
The configuration.yaml file should have type: homeassistant to be able to access it remotely.
In my case when connected from the local internet (not through tor), I’m automatically logged in.
auth_providers:
  - type: trusted_networks
    trusted_networks:
      - 192.168.0.0/24
    allow_bypass_login: true
  - type: homeassistant
Usage
Orfox / Tor Browser
- Start up Orbot (by pressing Start)
- If successful, start up the Tor Browser and browse to your xxxxx.onion address. You should see your homeassistant login screen.
- Create a bookmark with your .onion address. It’s hard to know it by hard :).
- click “Home Assistant Local”
- type in your home assistant username and password
- and you have your usual interface screen :)
Create a macro
Of course we are all lazy and don’t want to start up Orbot, launch the browser, login to homeassistant, and change our settings. Here is an example on how to create a macro on an android phone to turn on your heating: link.
2 - Setup debian system
Intro
This page is to document the steps starting from a fresh linux install and setting up homeassistant, mqtt and ebusd.
It starts with a fresh install of a debian buster based OS. The guide works on crunchbangplusplus, installed on an (old) laptop with i386 processor; works on armbian running on a tinkerboard.
Quite some additional python and other packages are specific for my installation, they can be left out to suit your needs.
Remote access
To make life easy and not be close to your machine running home assistant:
- ssh into the remote machine
sudo apt-get install tmux- start tmux by typing tmux
- execute your commands in the started tmux session
- leave/detach the tmux session by typing Ctrl+b and then d
- If you connect again after being disconnected, type
tmux attach
Install home assistant
This one mainly follows the steps outlined on the home assistant website to install Home Assistant in a virtual environment.
First prepare the list of repositories in crunchbangplusplus:
add a line to your /etc/apt/sources.list: deb http://ftp.de.debian.org/debian buster main
sudo apt-get update
sudo apt-get upgrade -y
sudo apt-get install -y python3 python3-dev python3-venv python3-pip libffi-dev libssl-dev build-essential autoconf cargo libsqlite3-dev
sudo useradd -rm homeassistant -G dialout
cd /srv
sudo mkdir homeassistant
sudo chown homeassistant:homeassistant homeassistant
sudo -u homeassistant -H -s
cd /srv/homeassistant
python3 -m venv .
source bin/activate
python3 -m pip install wheel
Install the development version of home assistant (or the stable of course):
exit
sudo -u homeassistant -H -s
source /srv/homeassistant/bin/activate
pip3 install --pre --upgrade homeassistant
exit
Due to some specific installation issues with the 0.100 version, this one had to be installed manually: https://pypi.org/project/home-assistant-frontend/
additional python packages (your own judgement if you need them):
sudo apt-get -y install libfreetype6-dev pkg-config libjpeg-dev imagemagick mosquitto mosquitto-clients python3-scipy
sudo apt-get -y install liblapack-dev libblas-dev gfortran
sudo -u homeassistant -H -s
source /srv/homeassistant/bin/activate
pip3 install --upgrade setuptools
pip3 install ilock requests datetime sh pexpect numpy pytz matplotlib pillow pyunsplash scipy
exit
Setup mqtt
Setup a username and password (or not if you don’t want …)
sudo mosquitto_passwd -c /etc/mosquitto/.passwd your_username
This will prompt a line to enter your password.
Edit sudo nano /etc/mosquitto/conf.d/auth.conf
listener 1883
allow_anonymous false
password_file /etc/mosquitto/.passwd
Test by sending and listening to a message: mosquitto_pub -h localhost -t test -u "username" -P "password" -m "hello world".
Install ebusd
select the correct computer-architecture:
 wget -O - https://raw.githubusercontent.com/john30/ebusd-debian/master/ebusd.gpg.key|sudo apt-key add -
 dpkg --print-architecture
 sudo wget -O /etc/apt/sources.list.d/ebusd.list https://raw.githubusercontent.com/john30/ebusd-debian/master/ebusd-i386-nomqtt.list
sudo apt-get update
sudo apt-get install ebusd
check status and let it start at boot
sudo systemctl status ebusd
sudo systemctl start ebusd
sudo systemctl stop ebusd
start at bootup:
sudo systemctl enable ebusd
Launch homeassistant
Launch home assistant:
sudo -u homeassistant -H -s
source /srv/homeassistant/bin/activate
hass
Check if any error messages pop up in the command window. If so, try to resolve them. Brows to http://ip_address:8123, to see if you can access. Setup an account.
Folder settings
Exit from the virtual environment to set some folder settings. I copy my yaml and python files through FileZilla, which requires to change the read/write settings. Maybe there are other solutions … .
sudo mkdir /home/homeassistant/.homeassistant/www
sudo chmod -R 777 /home/homeassistant/.homeassistant/
Copy files with Filezilla in the .homeassistant folder. Run again the chmod command on the directory and its subfolders
sudo chmod -R 777 /home/homeassistant/.homeassistant/
sudo chmod -R 777 /home/homeassistant/.homeassistant/python_scripts/
Static IP address
Let the laptop bootup with a fixed ip address:
run sudo nmtui, change the following in edit connection (to have a fixed address: 192.168.0.205)
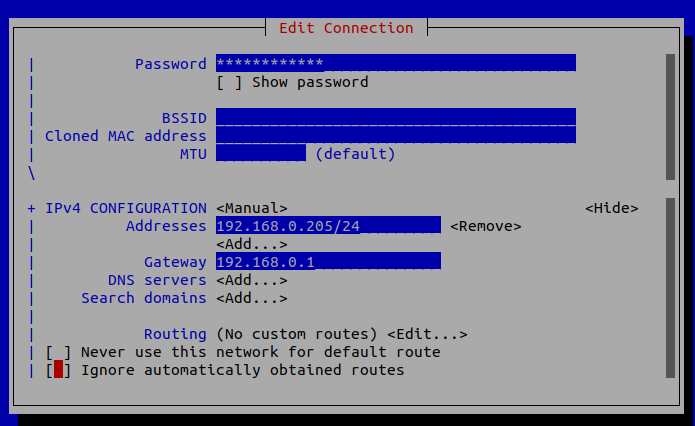
network settings
Afterwards go to Activate connection.
Most likely requires a reboot (and access to a display instead of ssh if things go wrong).
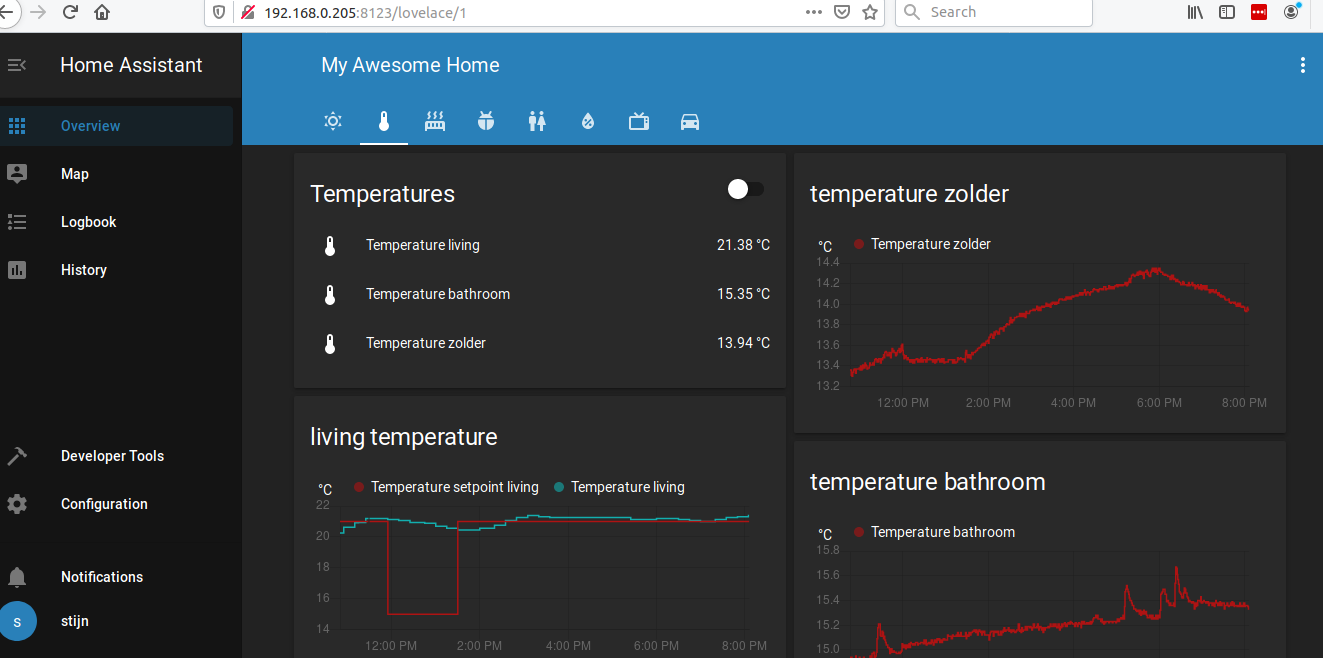
Result